Newsroom
Installation and Removal Guide for Joint Bearings
2025-10-10I. Overview
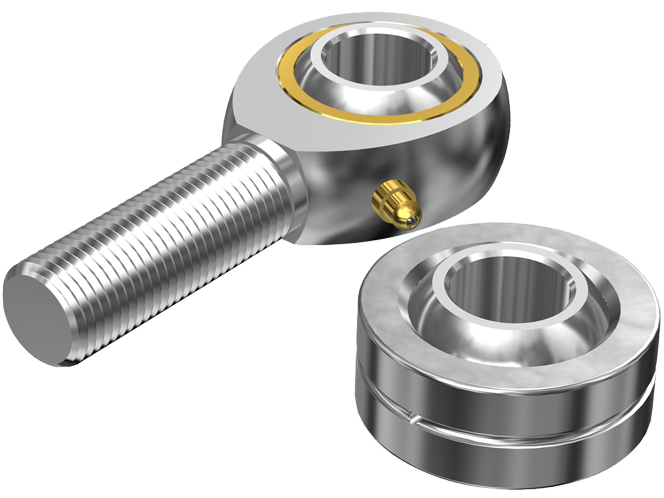
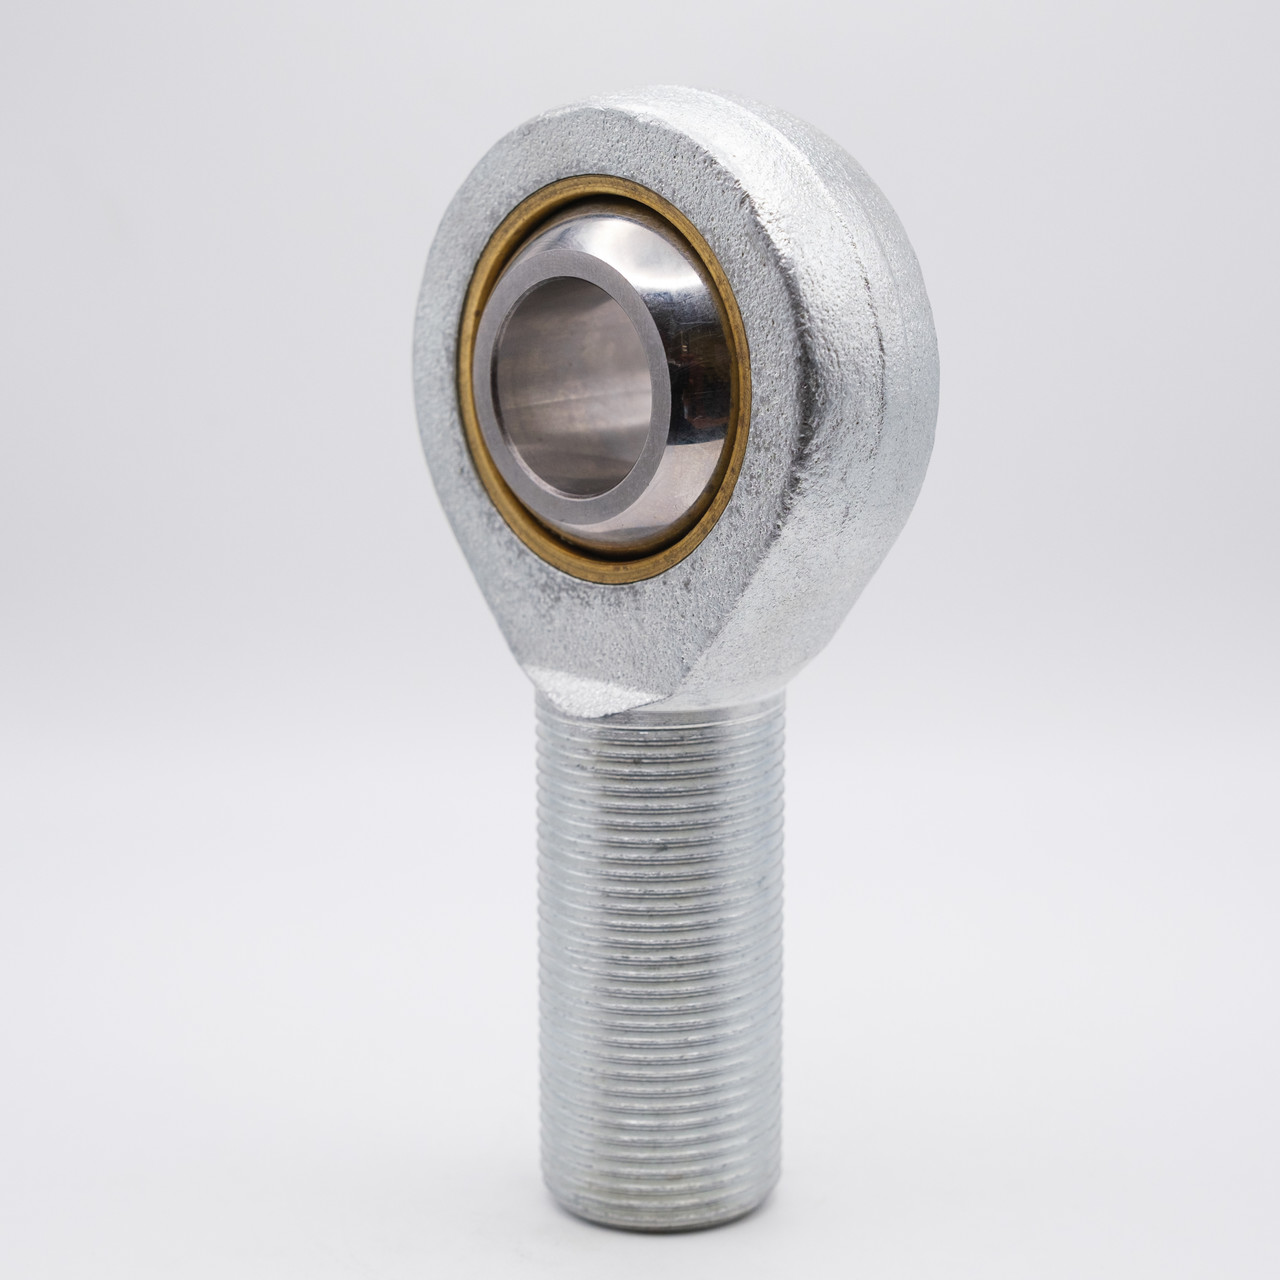
Joint bearings, also known as rod end bearings or spherical rod ends, are a type of spherical plain bearing with an inner and outer ring in sliding contact. They are widely used in applications that require a flexible joint capable of accommodating oscillating, tilting, or rotating motion while bearing heavy radial loads and moderate axial loads.
Proper installation and removal are essential to ensure stable performance and extend bearing service life.
2.Preparation Before Installation
i.Inspection
- Confirm that the bearing model and specifications match the design requirements.
- Check for any surface damage, cracks, or contamination on the bearing.
- Ensure that the mounting surfaces meet dimensional and surface finish requirements and are free of dust and burrs.
ii. Cleaning and Lubrication
- Remove anti-rust oil and contaminants using clean industrial solvent or kerosene.
- After drying, apply a thin layer of suitable grease (such as lithium grease or molybdenum disulfide grease) to the spherical surfaces or threads to reduce initial friction.
iii. Confirm Fit Type
- Joint bearings are typically connected by threads or pins.
- Check the thread direction (right-hand or left-hand) and required tightening torque before installation.
3.Installation Steps
i.Positioning
- For threaded rod ends, clean the mating threads thoroughly to ensure smooth engagement.
- Screw the joint bearings into the connecting rod or housing until it reaches the desired position.
ii.Alignment
- Ensure the bearing’s spherical center aligns with the direction of motion.
- For assemblies under bidirectional load, avoid angular misalignment or side tension.
iii. Fixing and Tightening
- For threaded types, secure the connection with a lock nut or thread-locking compound.
- For pin-connected types, use cotter pins or retaining rings to prevent loosening.
iv. Lubrication Maintenance
- For grease-nipple types, apply lubricant through the nipple after installation until a small amount of grease seeps out.
4. Removal Steps
i.Cleaning
- Clean the bearing and surrounding area to prevent contaminants from entering the fit during removal.
ii.Loosening
- Remove lock nuts, cotter pins, or retaining clips.
- If thread adhesive was used, heat the joint to about 120°C to soften the adhesive.
iii.Extracting the Bearing
- Use a proper wrench or puller to remove the bearing along the axial direction slowly and evenly.
- Avoid striking the spherical head or inner ring directly with a hammer to prevent deformation.
iv.Post-Removal Inspection
- If reusing the bearing, clean and inspect for wear, cracks, or looseness, and reapply grease.
- Replace any bearing with excessive clearance, pitting, or surface flaking.
5.Conclusion
Correct installation and removal of rod end bearings are vital to the smooth operation and long-term reliability of machinery.
Operators should strictly follow the installation guidelines, use proper tools, maintain clean and lubricated surfaces, and inspect bearings regularly.
By doing so, joint bearings can deliver optimal performance and durability even under demanding working conditions.