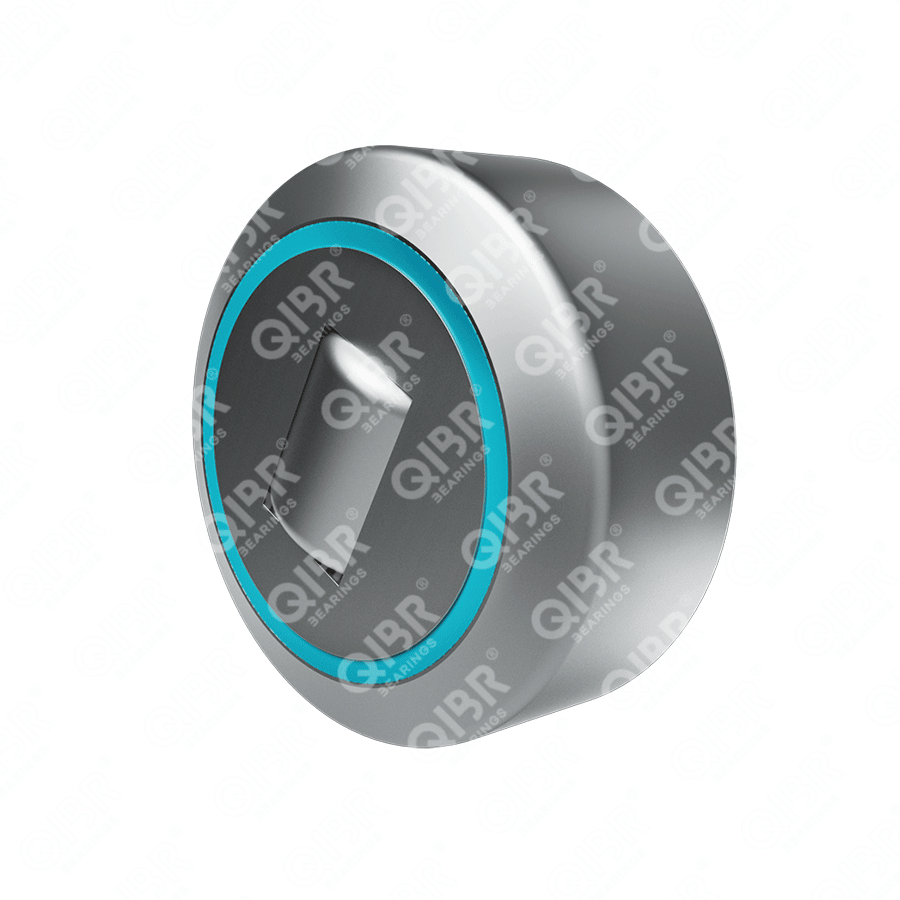
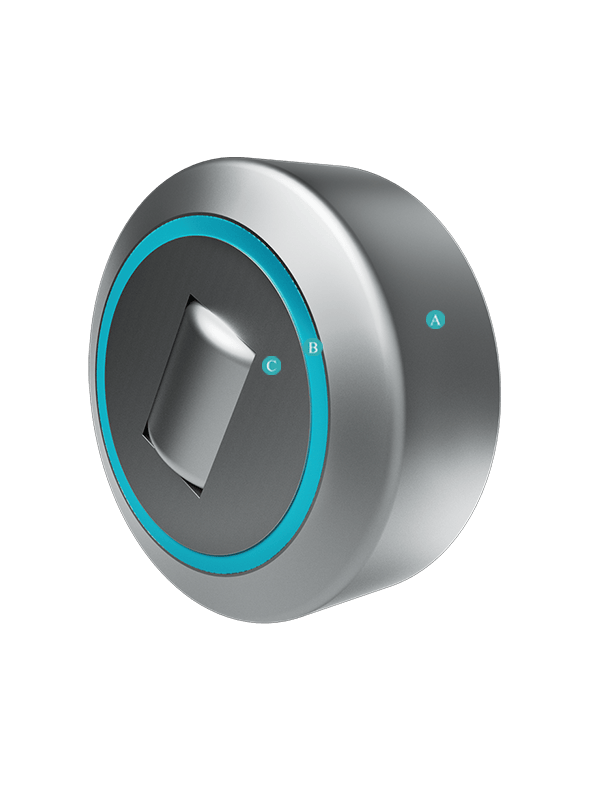
4.055 HT
- Outer diameter:
- 70.1 mm
- Width:
- 44 mm
- Mass:
- 0.85 kg
We will provide you with the most suitable solution.

Image may differ from product. See technical specification for details.
Specifications
Seris - 4.055 HT
Description
QIBR - 4.055 HT Combined Bearing Advantages and Applications
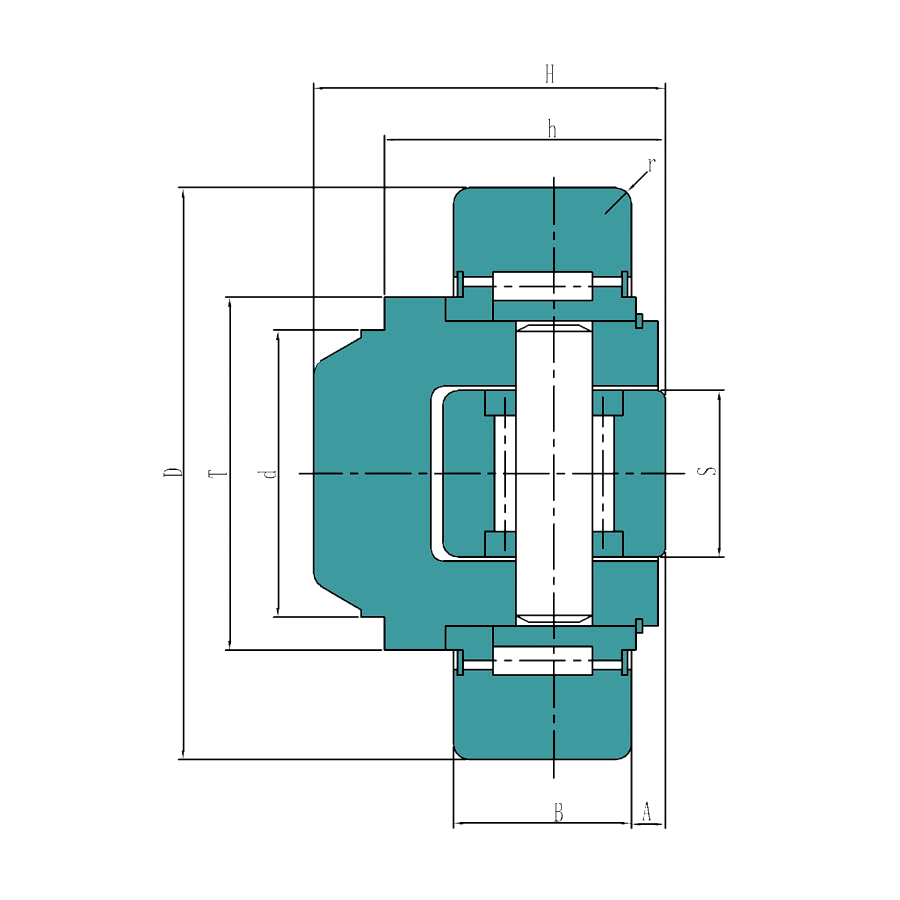
4.055 HT Combined Bearing, compact design, high rigidity, Outer diameter (D) is 70.1 mm, Overall width (B) is 23 mm, Weight is 0.85 kg, suitable for mobile handling systems, lifting systems and wind turbines, etc., and is the most widely used bearing in working conditions with high structural requirements.
QIBR - 4.055 HT Combined Bearing Characteristics
4.055 HT Combined Bearing, economical and durable. 4.055 HT Combined Bearing, can bear radial load and axial load at the same time, suitable for mechanical equipment with high stability requirements.
4.055 HT Combined Bearing Features and Advantages
High load capacity: Provides greater load-bearing capacity in both radial and axial directions, effectively extending the service life of the bearing.
Integrated Design: Provides greater load-bearing capacity in both radial and axial directions, effectively extending the service life of the bearing.
Compactness: The compact structure reduces the required installation space by integrating multiple functions.
Composite Load Capacity: Capable of withstanding loads from multiple directions, ensuring stable operation under high loads and high speeds.
Application: Widely used in fields such as gantry lifting systems, forklift gantry frames, automotive industry, machine tool manufacturing, medical equipment, and mobile handling systems.
QIBR - 4.055 HT Combined Bearing Optimization
High-Performance Materials: Bearing materials can be selected based on operating conditions and customer requirements, including alloy steel, ceramics, and combinations of ceramic balls with steel raceways.
Grease Selection: Grease can be chosen according to customer needs, such as NSK LGHP 2 or Mobilith SHC 220.
Coating Options: Suitable coatings can be selected based on customer requirements and working environments, such as PTFE for anti-friction, chrome for wear resistance, and zinc-nickel alloy for corrosion resistance.
Diverse Types: Combined Bearings can be selected based on customer needs and suitability, such as needle bearings without inner rings combined with thrust ball bearings, or those with covers.
More customization: QIBR can design and optimize bearing combinations and materials based on customer drawings and operating conditions.
QIBR - 4.055 HT Combined Bearings quality control
Dimension measurement: Various high-precision instruments are used to measure multiple dimensions of the bearings, achieving a maximum precision of 0.001mm
Rotation accuracy: A dial gauge is used to measure small surface defects or deviations, with a measurement precision of 0.001mm.
Hardness measurement: Hardness is measured using a hardness tester, with a precision of ±0.5HRC.
Metallographic analysis: Professional metallographic microscopes are used to analyze the internal metallographic structure of metals.
Geometric Tolerance: A profile projector is used to measure the geometric shape and relative position of the bearings.
Noise monitoring: Vibration meters monitor the vibration during operation to obtain noise data.
Raw material control: Steel and parts are purchased from suppliers certified by ISO 14001 to ensure product stability and promote sustainable development.
Features & Benefits
The combined bearing is a bearing that combines two roller bearings, axial and radial, in order to reduce the size, simplify the mounting structure and thus reduce manufacturing costs.
Downloads


